
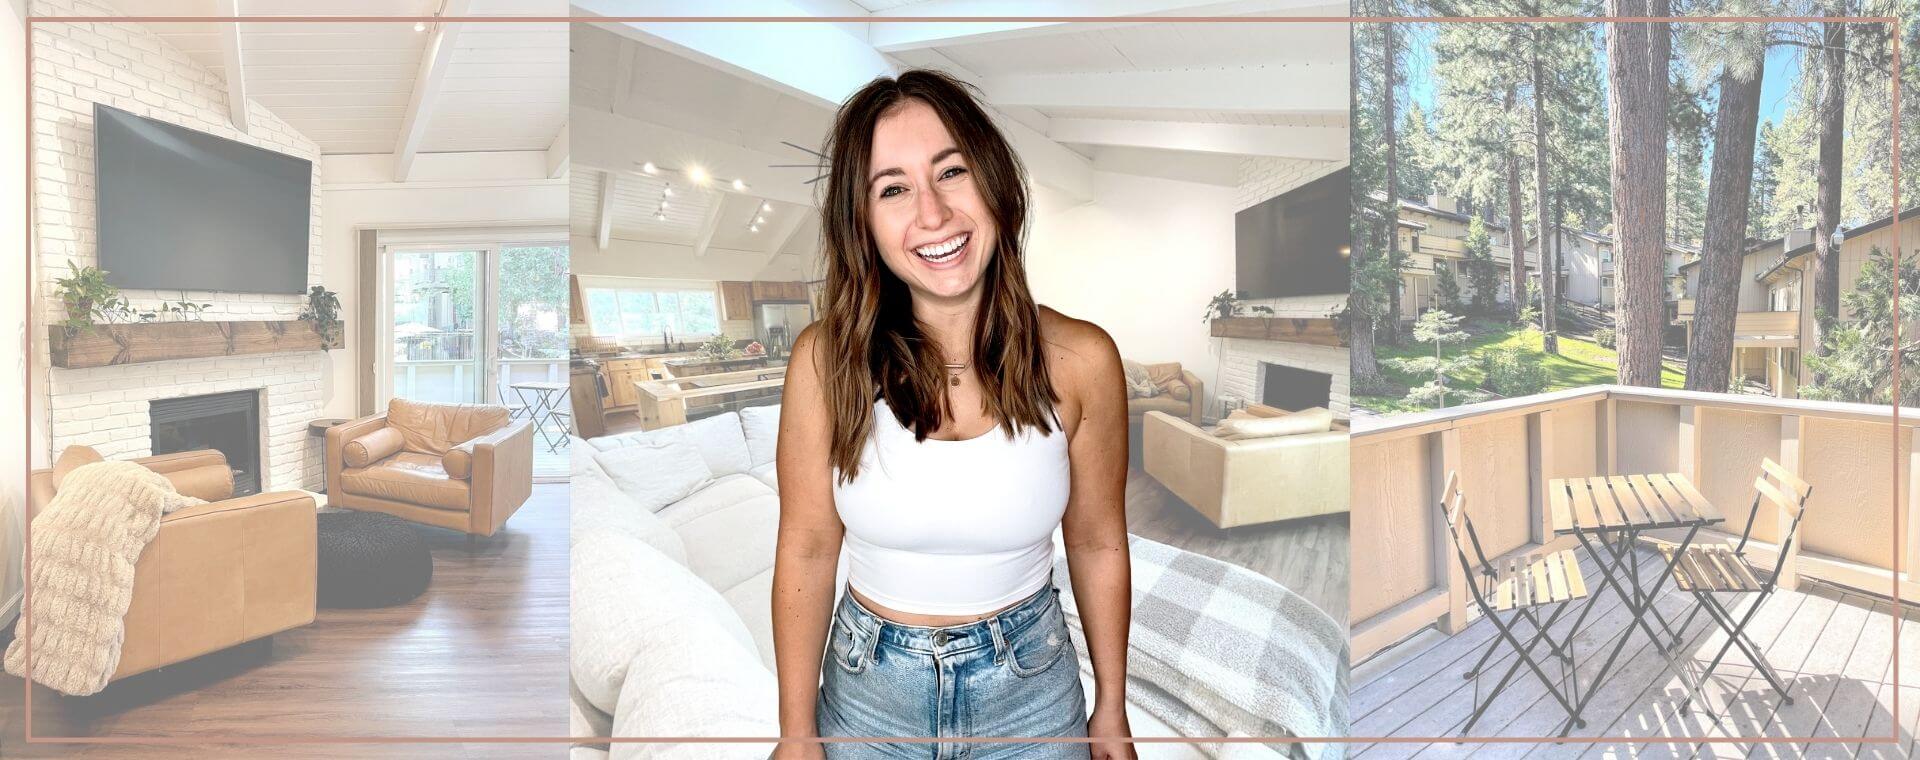


Planning ahead is everything when it comes to taking beautiful Airbnb listing photos that convert your listing traffic into real Airbnb bookings.
You need to plan everything from your decor to the weather. From being ruthlessly clean to writing captions that convert. Read on for your step-by-step guide to taking beautiful Airbnb listing photos.
This post may contain affiliate links. If you click a link and make a purchase, I may earn a commission at no additional cost to you. As an Amazon Associate, I earn from qualifying purchases. I’m not affiliated with Airbnb in any way (other than being an Airbnb host, of course). Read my full disclosure policy here.
Contents
How to Take Exceptional Airbnb Listing Photos
1. Do competitive research
Before you do any work on your own Airbnb listing photos, you need to have an idea of what’s already out there. Take a look at other Airbnb listing photos to see what you think works well and what doesn’t.
Ask yourself, Which angles make each room look the most spacious? What’s important to capture and what’s not? Make note of key things you want to implement in your own photos.
Pro Tip: I’m assuming you’ve already completely set up your Airbnb. If not, check out this blog post: 100+ essential items every Airbnb needs.
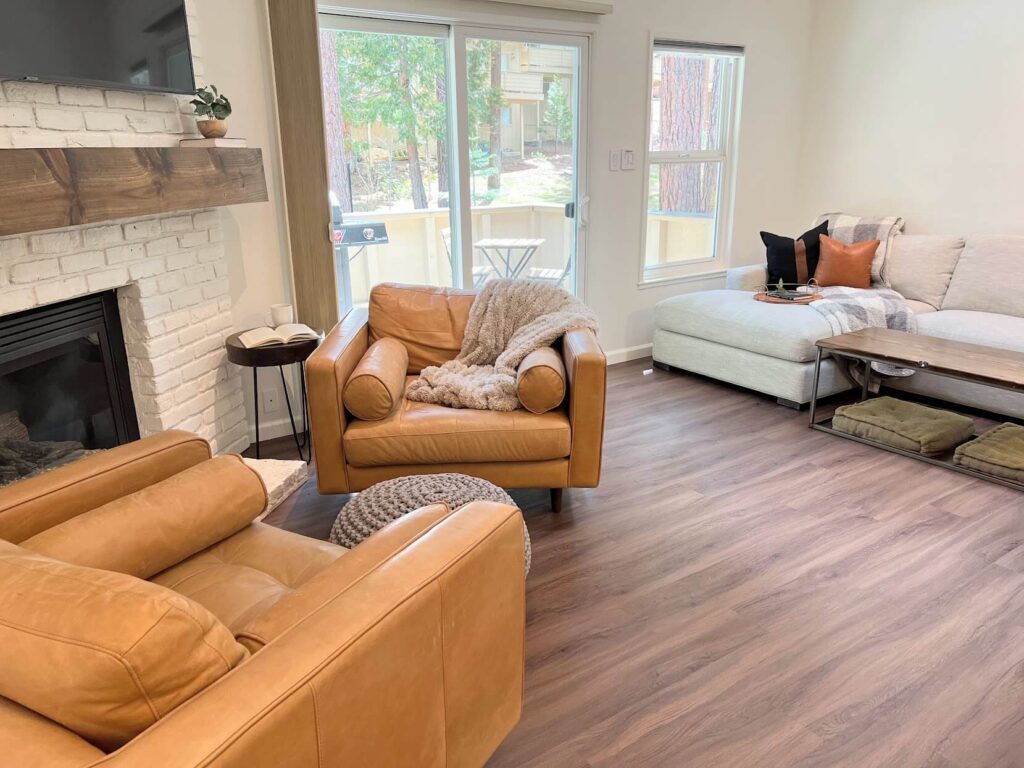
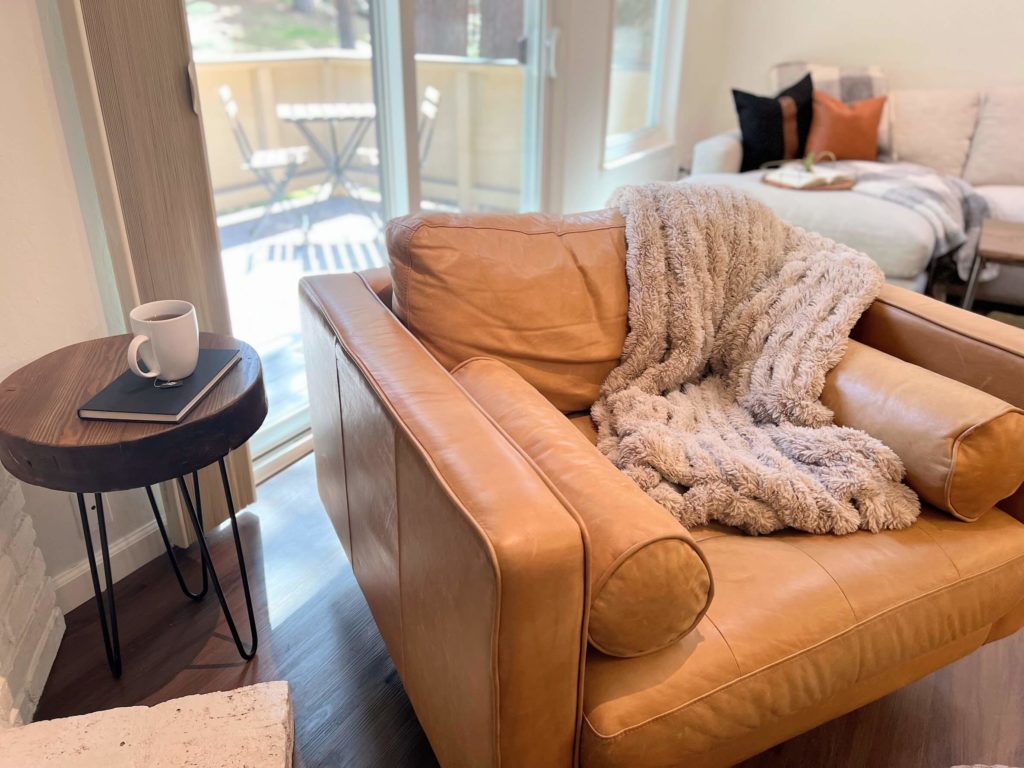
2. Stage your property
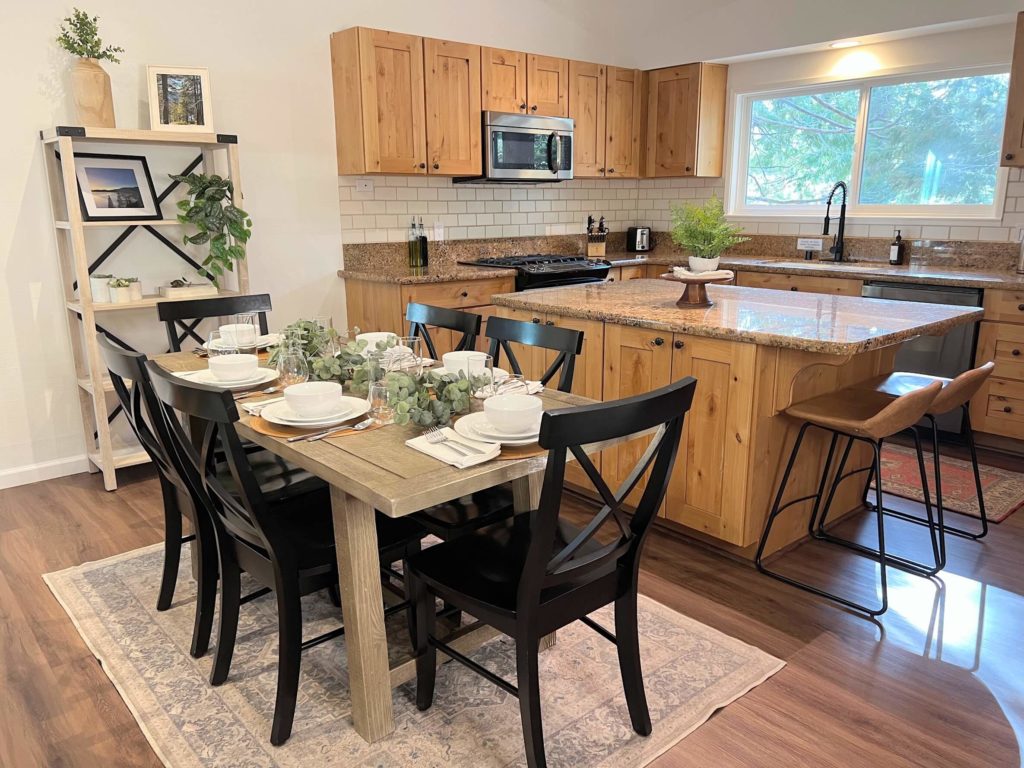
Staging your Airbnb makes it appear warm and welcoming in listing photos.
By ‘staging’ I mean adding decor and setting up your property in a way that helps guests envision themselves enjoying your space. A well-staged property can turn on-the-fence travelers into excited guests that immediately hit ‘book’.
Here are 5 simple (but high-impact) ways to stage your Airbnb listing photos:
- Create a full dining table setup with these high-quality dishes, silverware, and water glasses.
- Place a laptop, faux plant, and mini lamp on your laptop-friendly workspaces.
- Set books out as decor.
- Set a cup of tea out on nightstands, desks, and coffee tables.
- Put realistic-looking fake plants on empty shelves and countertops.
Pro tip: This is just one of 15 sections on your listing that can be optimized today to start earning you more revenue today!
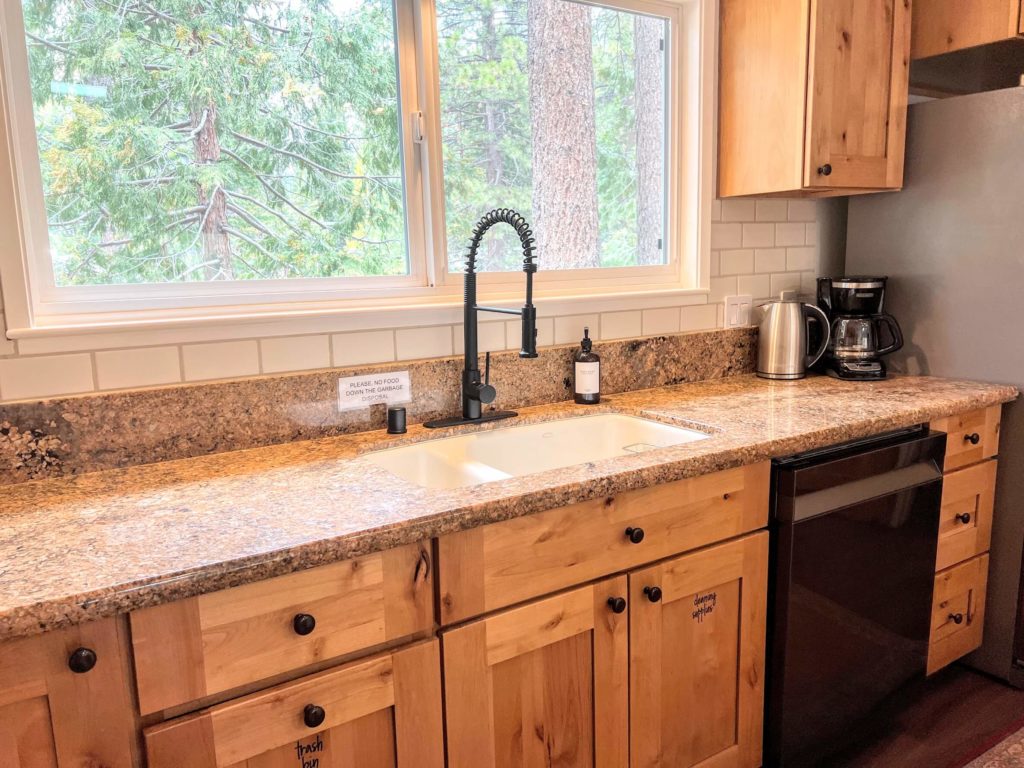
3. Thoroughly clean everything
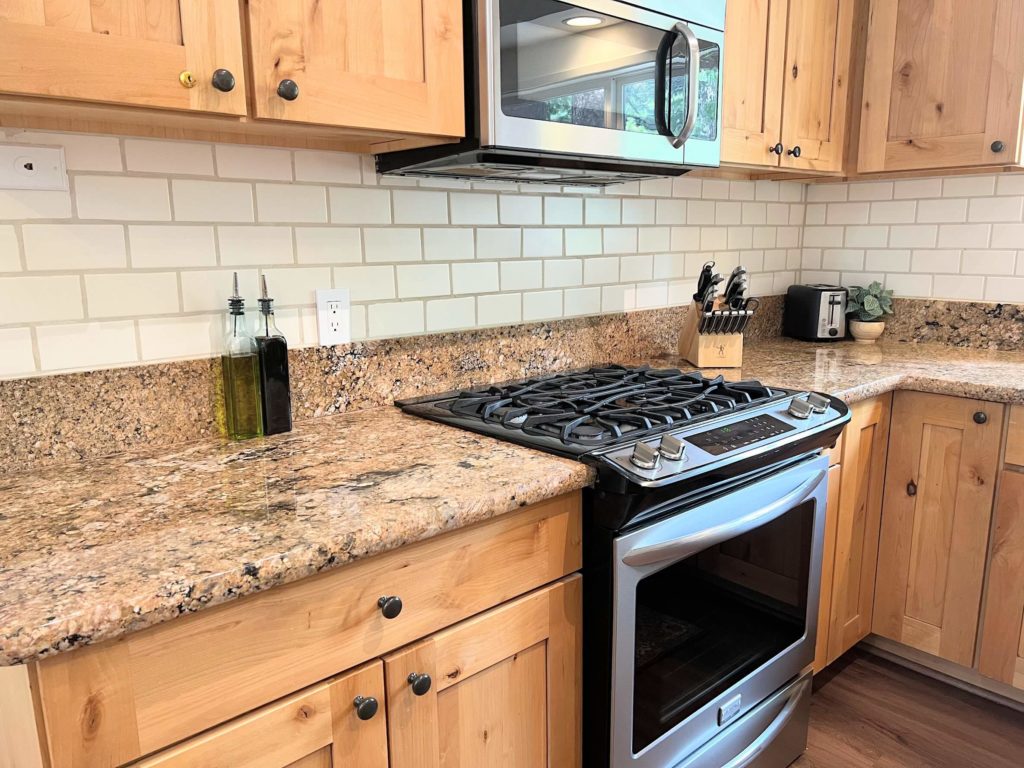
Before you take photos, your Airbnb needs to be spotless.
Ask your cleaning company to do one deep clean right before you take photos. Not only is this crucial for taking great listing photos, but it’s also a good opportunity for you to make sure everything is cleaned as expected and provide feedback (before your guests do!).
And expect that you’ll need to rearrange things after they leave. (Get that throw blanket in the perfect position. Karate chop the heck out of those pillows!)
4. Check the weather
Quick storytime. Less than one year into hosting, I decided to retake my listing photos (for the third time) and actually put some effort into it this time around.
So, I visited my Airbnb during off-season (by the way, off-season is literally the only time you’ll want to visit so that you’re not missing out on meaningful revenue). And although I spent tens of hours planning and hundreds of dollars on decor, I severely overlooked the fact that the weather was expected to be awful the week I was visiting.
We’re talking snow or rain almost every single day I planned to take photos…except one.
And if it weren’t for that ONE sunny day, my potential guests would be looking at a bunch of listing photos with snow-covered-everything in the background when thinking about whether or not to book my Airbnb for their SUMMER vacation.
I got lucky (and hectically rearranged my plans to make sure I could take photos on the ONE sunny day I had). But YOU should plan ahead.
No matter what season your guests are booking for, warm and sunny never looks bad in photos. (Snowy and dark, on the other hand, would make it hard to sell your Airbnb just about any time other than winter…). Plus – a warm, sunny backdrop makes your Airbnb feel more inviting, fun, and spacious.
Pro tip: This is just one of 15 sections on your listing that need to be optimized to increase your Airbnb revenue.
5. Brighten your photos
Another important aspect in making your Airbnb appear inviting, fun, and spacious is having the right lighting inside your property.
The good news is, you can do several different things to achieve the right lighting inside your Airbnb:
- Turn on every light (both within the room you’re shooting in and, importantly, any other room in the background)
- Play around with extra lighting (I used my Ring light, but you can use anything)
- Shoot during the day (an absolute must)
And, no matter how bright your property actually is, you’ll probably need to edit them a bit afterward to showcase your property as best as possible.
Recommended: 10 Lesser-Known Ways to Perfect Your Airbnb Listing Photos
6. Write compelling captions
One common mistake I see first-time hosts make is not adding captions to each one of their listing photos. Potential guests will likely look at your listing photos before anything else, so make sure to include key information in the captions.
Get your comprehensive guide to creating a listing that converts in this blog post.
7. Include local amenities
A guest’s ability to envision themselves at your property doesn’t stop with the property itself.
Including photos of nearby attractions helps guests associate those amenities with your property (think: local beaches, hiking trails, and other tourist attractions.) Convince your potential guests that by staying with you, they’ll not only have a great experience at your property but throughout their entire vacation as well.
Pro tip: This is just one of 15 sections on your listing that need to be optimized to maximize your Airbnb profitability.
Takeaway
Look at you go!
I just know you’re going to crush it with your Airbnb listing photos.
We’ve covered a lot about planning in this post. Make sure you also get all of my secret hacks for taking beautiful listing photos in this blog post.
Save this post for later:
Disclaimer: All content on this website is for informational purposes only. You are taking all provided information at your own risk. We are not financial, real estate, legal, investment or other professionals. Nothing on this website should be construed as professional advice. We will not be liable for any loss or damage of any nature. For more information, read our disclaimer.
Drop your questions about taking Airbnb listing photos in the comments.


+ show Comments
- Hide Comments
add a comment