Starting your first Airbnb is overwhelming, stressful, and filled with uncertainty. Between becoming your own real estate investor, general contractor, project manager, and chief financial officer…it can feel nearly impossible to not get completely overwhelmed and give up before you’ve even started. Get rid of all the uncertainty and get back on track to starting that Airbnb you’ve been dreaming of by following the steps in this comprehensive Airbnb start-up guide for first-time hosts.
This post may contain affiliate links. If you click a link and make a purchase, I may earn a commission at no additional cost to you. As an Amazon Associate, I earn from qualifying purchases. I’m not affiliated with Airbnb in any way (other than being an Airbnb host, of course). Read my full disclosure policy here.

Contents
Your 7-Step Airbnb Start-Up Guide (For First-Time Hosts)
1. Pick your property
When it comes to choosing which type of property you’ll turn into an Airbnb, you have several options.
You can rent out…
- An unused area of your house;
- Your entire house (or vacation home) when you’re away; or
- A property you exclusively use as a short-term rental
If you can cover the startup costs, having a property solely dedicated to your Airbnb business is a great option. That way, you can get consistent rental revenue while investing in a great piece of real estate.
No matter which route you choose, make sure you know your property will be profitable as an Airbnb BEFORE investing any of your hard-earned cash.
Pro Tip: To ensure your Airbnb is set up for success and ready to earn as many bookings as possible, you need to optimize your listing!
2. Check local requirements
As you start to nail down a specific location for your Airbnb, be sure to understand any requirements for short-term rentals in that area. Some municipalities and homeowner’s associations don’t allow short-term rentals at all. Others require certain permitting that can be cumbersome, expensive, and hard to get approved.
Usually you can find short-term rental restrictions and permitting requirements online, but it doesn’t hurt to call the municipality and talk to someone directly, too, because what’s online is not always up-to-date.
3. Furnish & stock your property
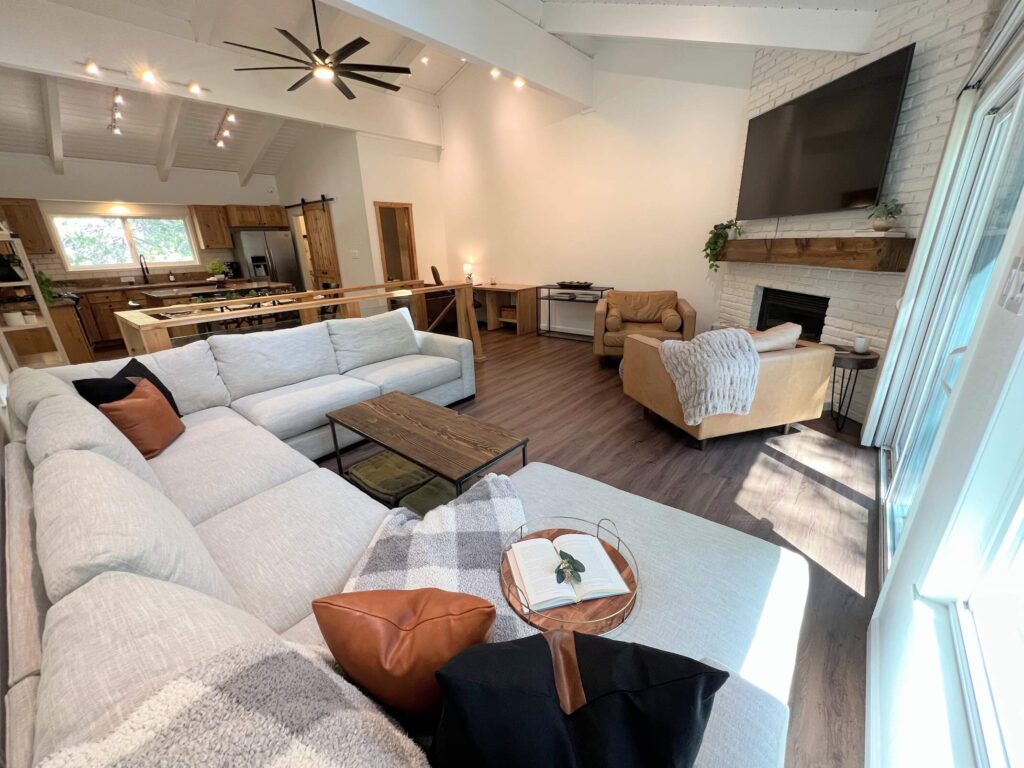
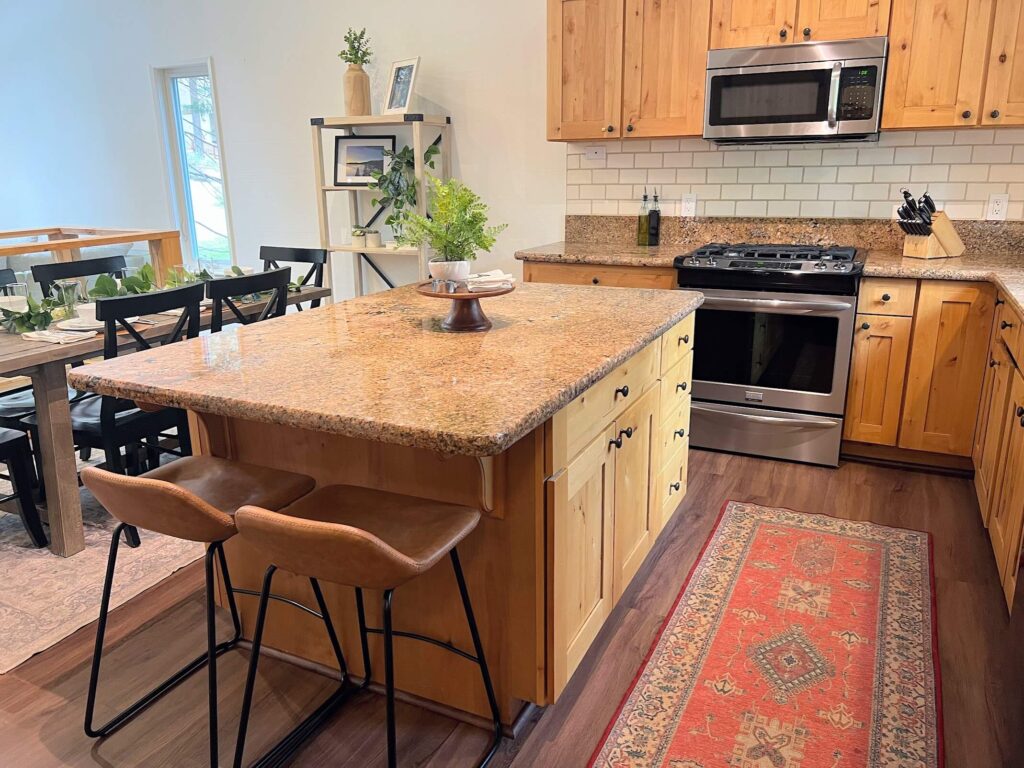
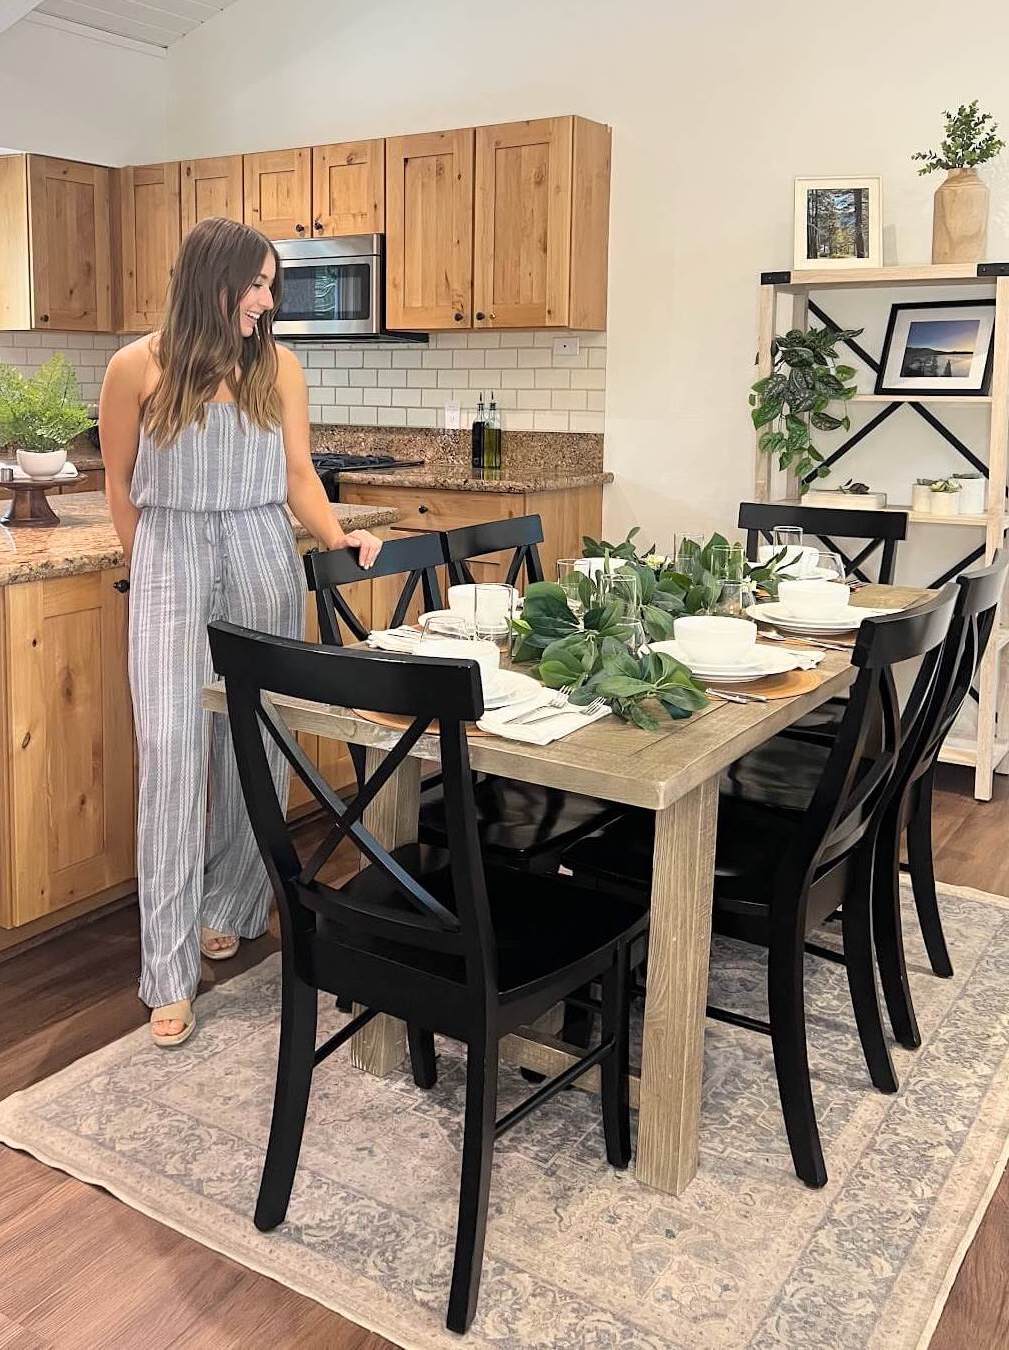
Once you’ve acquired your property, you’ve got to start setting it up. Between necessary repairs, updates, furniture, decor, and supplies…doing everything required to set up your property can be incredibly daunting, especially if you’re on a tight timeline.
Save yourself tons of time, energy, and stress with my FREE furniture and supplies checklist (100+ essential items!):
4. Get renter’s insurance
Your homeowner’s insurance may or may not include coverage specific to renting out your property, so be sure to check your policy to find out. If you’re not covered, consider adding this coverage or buying a separate policy specific to short-term rentals.
If you plan to list your property on Airbnb, be sure to also take a look at Airbnb’s AirCover policy, which covers hosts with $1MM in liability insurance and $3MM in damage protection.
The third type of insurance you can get is third-party short-term rental insurance that only applies on a booking-by-booking basis. This insurance typically requires you to pay a flat fee each time you get a booking to cover incidents that occur during that specific stay. This type of insurance is totally optional and I recommend learning about your existing coverage (noted above) before deciding whether or not you also want this additional third-party insurance.

5. Find a local cleaning company
The one thing you absolutely can’t skip when setting up your Airbnb is creating a plan for cleaning your property between guests. If you live locally and have the time, you could choose to clean the property yourself. However, I recommend hiring a cleaning company.
Why?
Because cleaning is super easy to outsource. There are tons of professional cleaners that will get the job done well, maybe even faster and better than you would (that’s definitely true for me!). Plus, if you clean your property yourself, what happens if you get sick? Or want to go away on vacation? Having a plan in place is crucial.
Pro Tip: Ask your cleaning company to do one deep clean right before you take photos. Not only is this crucial for taking great listing photos, but it’s also a good opportunity for you to make sure everything is cleaned as expected and provide feedback (before your guests do!).
6. Take listing photos
Once all of your furniture is in place and you’ve found a local cleaning company, you’re ready to take photos of your property!
This is by far one of the most important aspects of creating a listing that gets tons of bookings, so it’s worthwhile to hire a professional. Be sure to talk to your photographer about your expectations so you’re both on the same page. To make your photos as warm and inviting as possible, consider hiring a lifestyle or wedding/lifestyle photographer over a real estate photographer. Real estate photography tends to be too cold and sterile for an Airbnb listing.
Pro Tip: This is just one of 15+ sections of your listing that need to be optimized to maximize your profitability. Learn how you can optimize your listing to start earning more from your Airbnb today!
7. Create your listing
Phew! Now that you’ve got all that out of the way, you’re finally ready to start creating your actual listing. This is by far the quickest step so I recommend waiting until last.
While there are over 15 sections of your Airbnb listing that need to be thoughtfully crafted to maximize bookings, here are the three most important sections:
#1: Listing Photos
Nailing your listing photos is crucial because they show up prominently in search results, at the top of your listing, and are often the very first thing potential guests look at when deciding whether or not to stay with you. If you followed all my photo recommendations above, you’re off to a great start! Make sure you nail every aspect of great listing photos (including the number of photos, the type of photos, and even your photo captions) with the tips I share inside Listing Optimization Secrets.
#2: Listing Title
Since your listing title is one of the few things you control that shows up in search results, it’s a small detail that’s hugely important if you want to get as many bookings as possible. To help you effortlessly craft your listing title, I’ve created 100 plug-and-play Airbnb listing titles just for you.
#3: Listing Description
Your listing description makes up the vast majority of your Airbnb listing, yet this is where I see almost all new listings share hardly any information! This section of your listing needs to incorporate the key attributes of your property in a way that gives your potential guests the information they need to confidently book with you while also convincing them that your Airbnb is perfect for them! Get my step-by-step guide on how to do just that inside Listing Optimization Secrets.
Pro Tip: Have a target guest in mind when creating your listing and highlight things they would want to know. For a complete guide on on creating a fantastic Airbnb listing from top to bottom, join Listing Optimization Secrets!
Takeaway
Whew, we just covered a lot! Hopefully this Airbnb start-up guide makes the process easier and more manageable for you. Setting up your first Airbnb is a huge accomplishment! After all your hard work, don’t forget to take some time to celebrate and relax.
But know that the work doesn’t end there. After you start hosting there’s a lot of work that goes into managing your Airbnb.
Found this post helpful? Pin it for later:

Questions about how to start an Airbnb? Let me know in the comments.
Disclaimer: All content on this website is for informational purposes only. You are taking all provided information at your own risk. We are not financial, real estate, legal, investment or other professionals. Nothing on this website should be construed as professional advice. We will not be liable for any loss or damage of any nature. For more information, read our disclaimer.

+ show Comments
- Hide Comments
add a comment